A Beginner’s Guide to Capturing Images You’ll be Proud to Share
In the world of social media many of us are part of various groups on platforms such as Facebook. I too spend a fair amount of time reading posts in these groups that I am a part of, with many of these groups being based around photography. One of the most frequent type of posts that I see is from people who are new to not only their brand new camera that they bought, but also simply just new to photography and needing a little guidance on how to take good photos. In this post I will cover some of the basics of photography, which as it turns out seem to be the types of questions I most often see asked in the aforementioned social media groups.
Photography is about so much more than just pointing a camera [or smart phone] and clicking a button. Photography is an art form that blends creativity with technical skill whether you’re shooting on a smart phone, DSLR, or mirrorless camera. Understanding the core fundamentals of photography will help you turn ordinary snapshots into compelling visual stories. Let’s explore the building blocks of great photography; exposure, composition, lighting, and focus.
1. Exposure: Balancing the Light in Your Shot
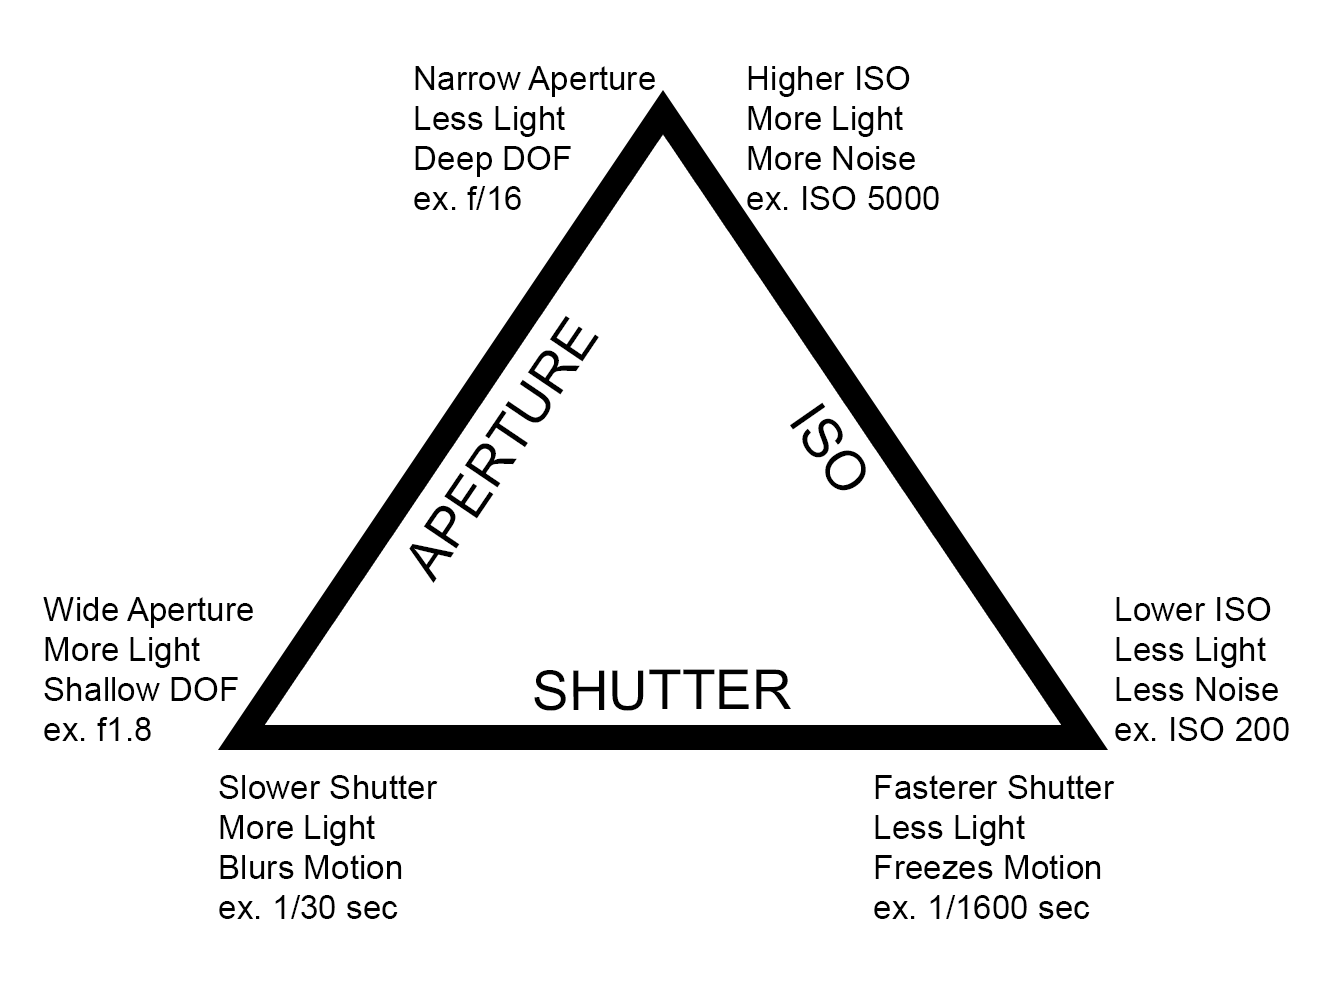
Exposure refers to how much light reaches your camera’s sensor and how it affects your image. Too much light, and your photo will appear washed out (overexposed); too little light, and it will appear too dark (underexposed). You control exposure with three key settings, known to photographers as the Exposure Triangle. These three settings are as follows:
Aperture (f-stop): Aperture controls the amount of light that enters the lens by controlling how wide the lens opens. A low f-stop (f/1.8) lets in more light while a high f-stop (f/8 or higher) lets in less light. The f-stop number has other effects on your image, but more about that in Section 4, below.
Shutter Speed: Shutter speed determines how long your camera’s shutter stays open. A fast shutter (1/1000s) does not allow light to fall on your camera’s sensor (or film if using a film camera) very long, while a slower shutter speed (1/30s) allows your sensor to absorb the light for a longer period of time. More on shutter speed and it’s effects on your image later on.
ISO: ISO controls your camera sensor's sensitivity to light. Low ISO (100–400) settings makes your sensor less sensitive to light, while high ISO (800–3200+) will make your camera’s sensor more sensitive to light. For most outdoor photography you will probably keep your camera in the ISO 100-400 range during the daytime as there should be sufficient ambient light.
All three of these independent settings work together hand-in-hand-in-hand to create proper exposure. Balancing these three settings will give you the exposure to set the mood you want. To see this in action, select an ISO setting such as ISO 400 and set your camera for a semi-automatic mode such as Aperture Priority (you set aperture and camera sets shutter) or Shutter Priority (you set shutter speed and camera picks aperture) and set your aperture or shutter to whatever you desire, then compose your frame and focus your subject. Your camera should meter the exposure for you at this time. Make note of your camera’s settings and then change your aperture or shutter depending on which mode you’re in. You will see the aperture or shutter setting change because the camera is adjusting the setting to maintain proper exposure.
In aperture Priority mode, when you open up your aperture (make the f-stop a smaller number), this will allow the shutter speed to be increased because the wider aperture means that the lens is allowing more light thru the lens to reach the sensor. Conversely, when you close up your aperture (make the f-stop number bigger), the shutter speed will end up slowing down because the aperture isn’t allowing as much light thru the lens to reach the sensor. This means the shutter needs to remain open longer to allow the sensor to be exposed to the limited amount of light passing thru the lens aperture to produce the same exposure at the given ISO setting.
Don’t be afraid to experiment a little and play with changing these settings to get a feel for how they work together. You can even play with your camera’s exposure compensation by setting it to overexpose and underexpose to see the differences in how the photos look.
2. Lighting: The Basis of Photography
Light can easily make or break your photograph. Pay attention to the direction, quality, and color of your light source. Golden Hour (shortly after sunrise or before sunset) offers soft, warm, flattering light. At these times of the day the sun is at a low angle which creates the soft light, and more gentle shadows. This can be a great time of day for photographing natural light portraits and also landscapes with ponds and lakes as the water will easily appear mirror-like due to lack of harsh shadows (that is if there is little to no wind movement).
Midday sun creates harsh and very unflattering shadows. This is great for contrast but challenging for portraits. If you absolutely must shoot during midday, try to plan for a day with cloudy or overcast conditions as the clouds create a natural filter which softens the light and reduces harsh shadows.
Backlighting is exactly what it sounds like. The light source is positioned behind the subject and can create silhouettes or glowing outlines around subjects. When using for portraits, an additional light source or light bounce is usually positioned between the camera and the subject to remove or decrease shadows.
Artificial light, such as that from speedlights, lamps, or studio strobes, can also be used to shape the mood and depth of your photos. More on that in a later blog post.

Backlighting plays a key role in portraits. It helps to separate your subject from their background and provides a good rim light. Here I positioned my subject with the sun behind him and used a reflector to bounce light back onto him to light him from the front.
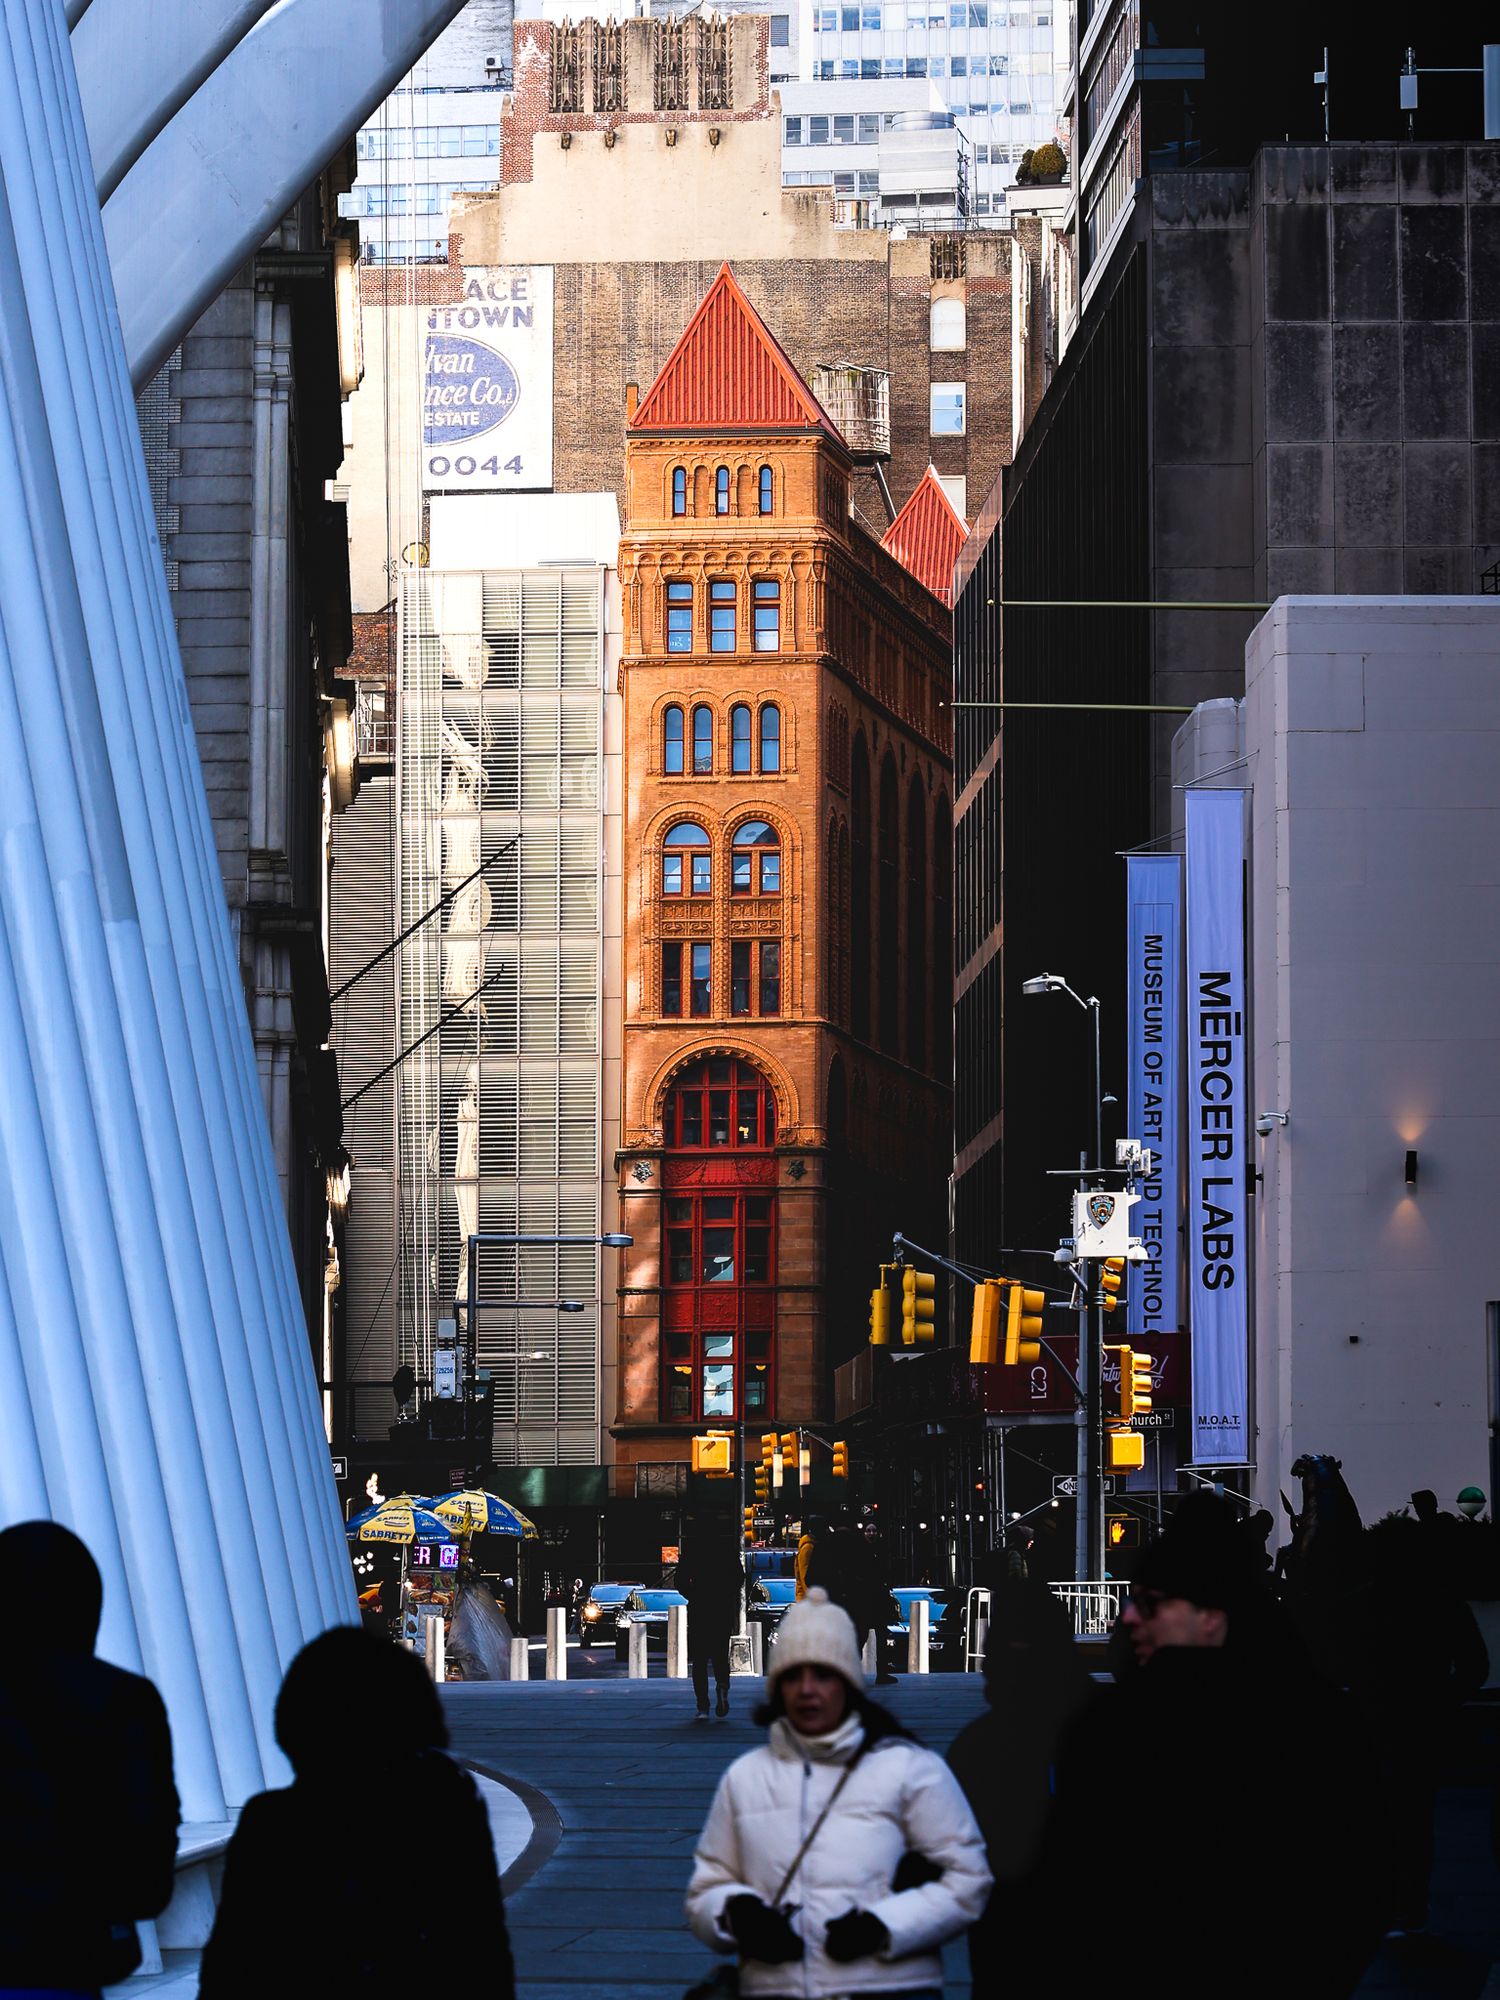
Mid-day lighting in a city can lead to some images with lots of contrast.
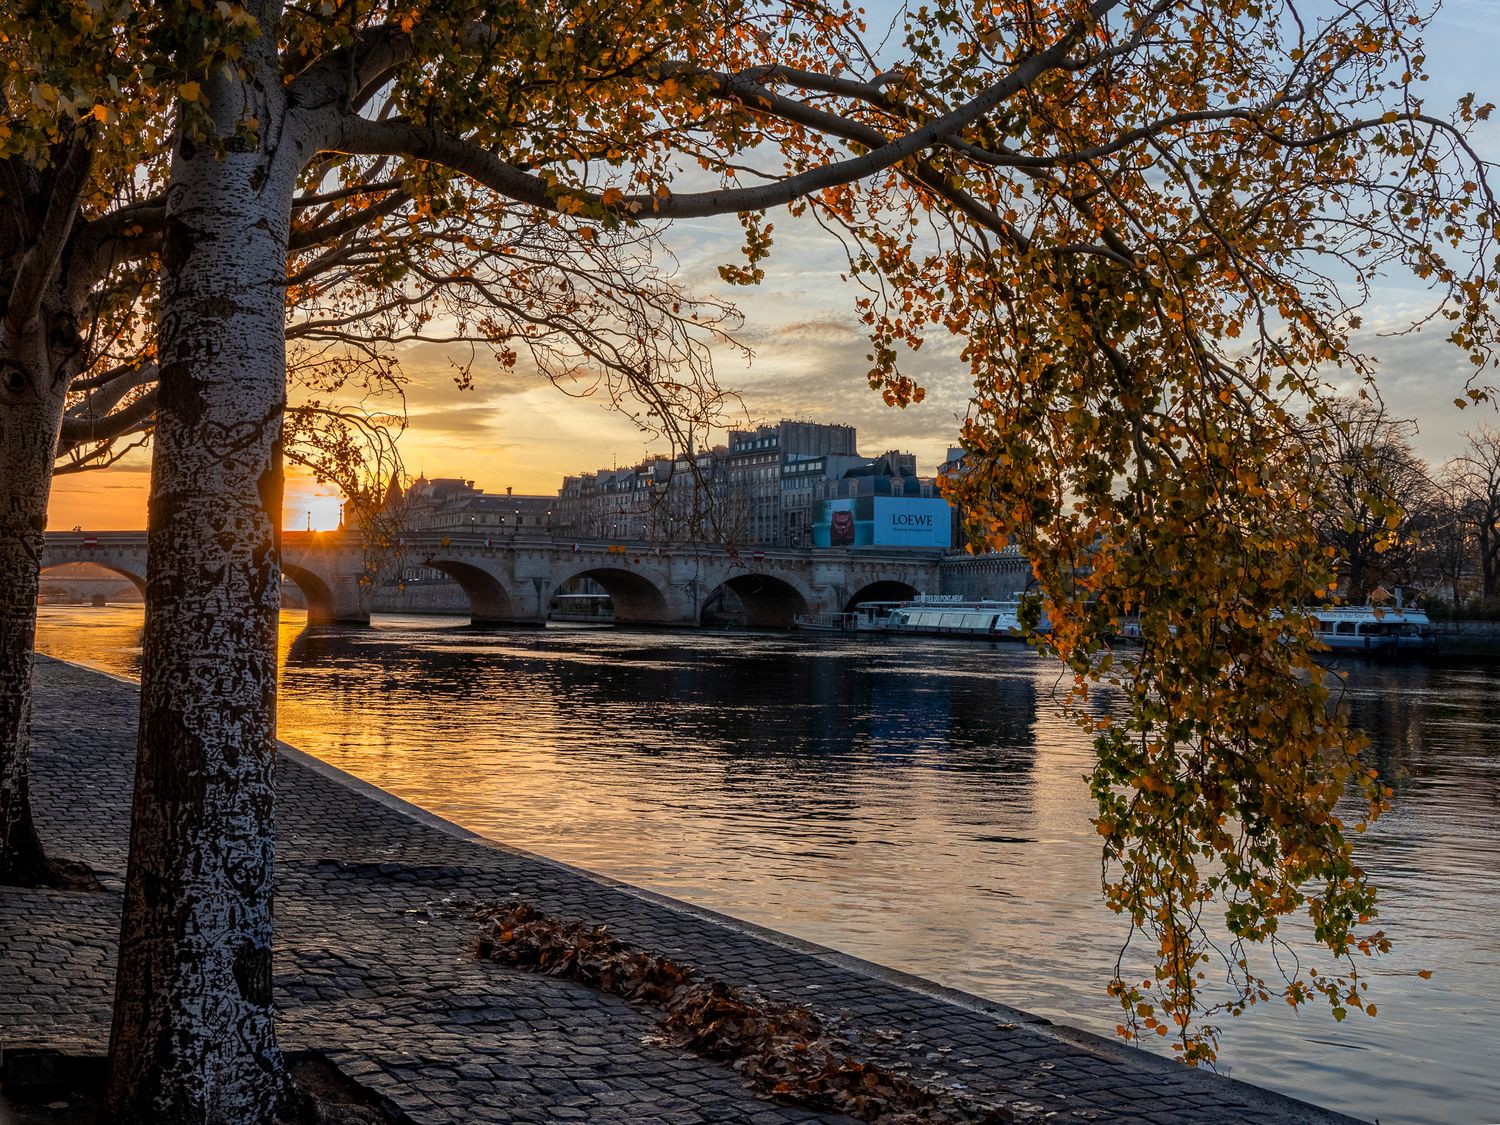
Getting up early has its advantages. Not only are there fewer crowds in high traffic areas, but you also get to take advantage of golde hour light.
3. Composition: Creating Your Shot
Composition is how you arrange the elements in your shot to guide the viewer’s eye to your subject and makes a photo engaging and visually appealing. Some essential composition techniques include:
Rule of Thirds: Imagine your frame divided into nine equal squares. Place key subjects along the grid lines or at intersections for balance and interest.
Leading Lines: Use roads, fences, or shadows to draw the viewer’s eye toward your main subject. Many other items can also be used to create leading lines, so check your surroundings for things that point or draw the eye towards the subject. Be careful that don’t choose items that distract the viewer from the main subject of the image.
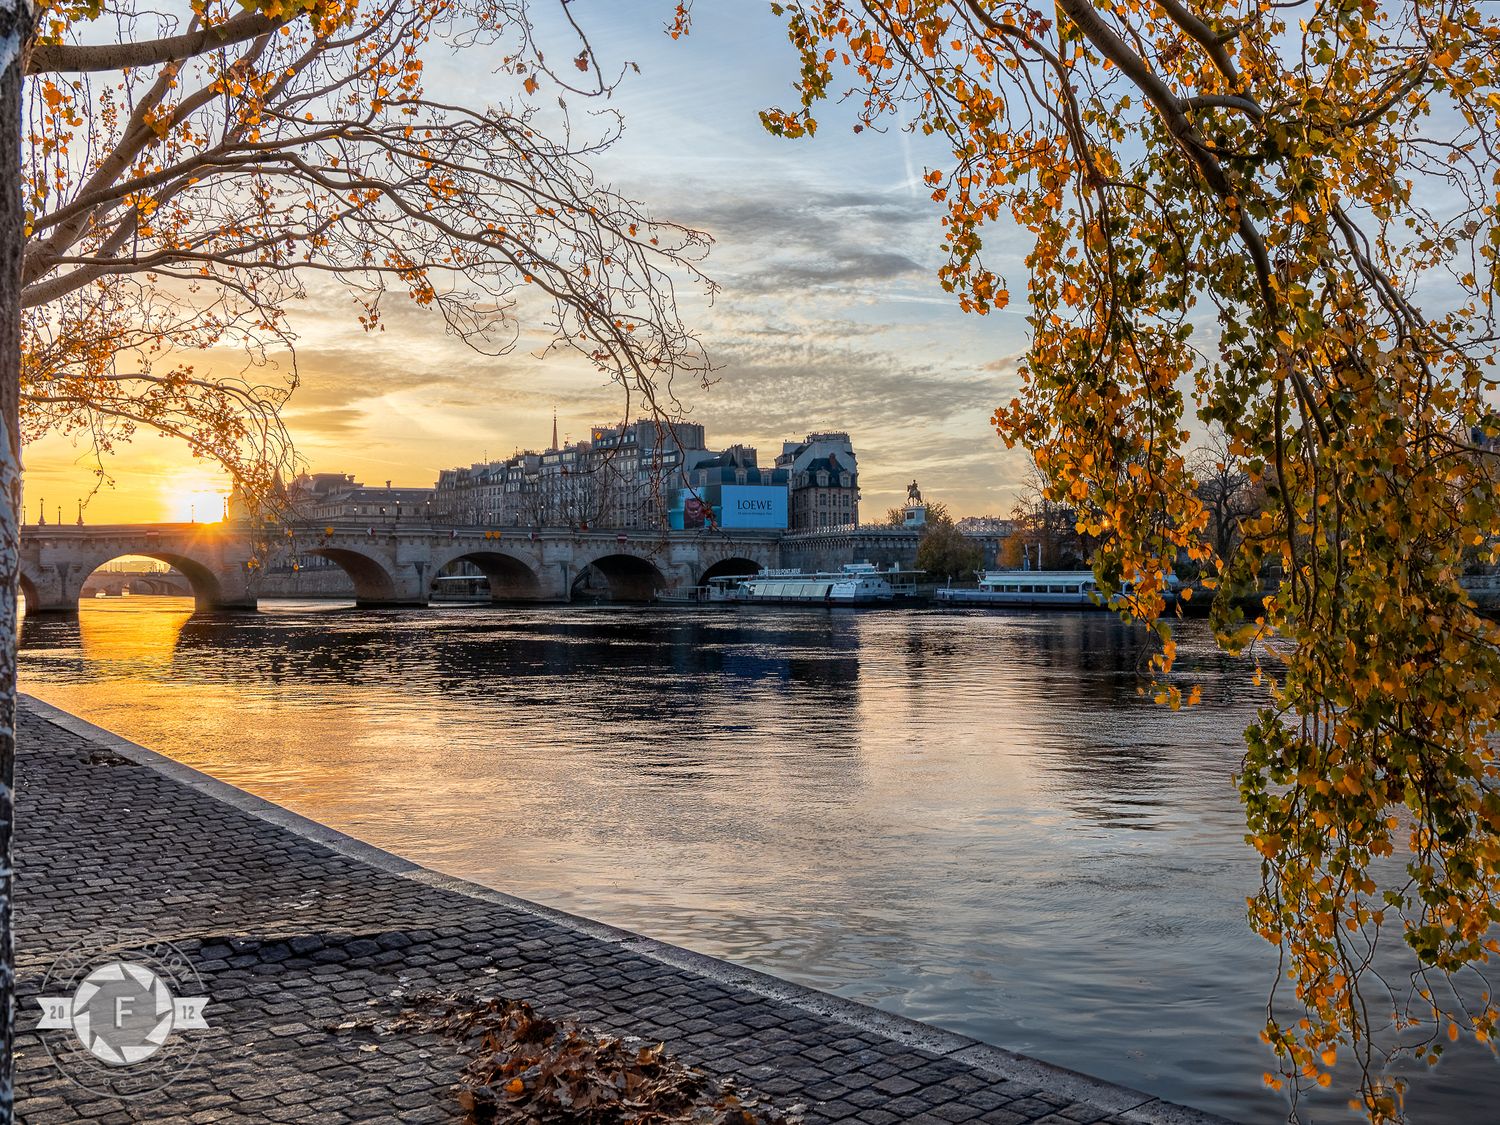
Framing: Use elements within your scene (like windows, trees, or arches, etc) to frame your subject and add depth. Don’t be so quick to just whip out the camera and take a quick shot, but look around for something to frame your subject with. You may have to change the angle with which you take your photo, but often times the results will be worth it. Its sometimes amazing how the slightest movement of your vantage point can impact an image and turn it from “meh” to “WOW!”. Take the photo below of the Eiffel Tower for example. I was standing 20 feet or so further down the sidewalk snapping photos of the tower and then I looked to my left and saw the trees and their branches hanging over the sidewalk. I thought to myself that there had to be a shot in there somewhere. After walking over to the trees and moving some clutter out of the way on the sidewalk, I was litterally standing in the perfect spot for the shot.
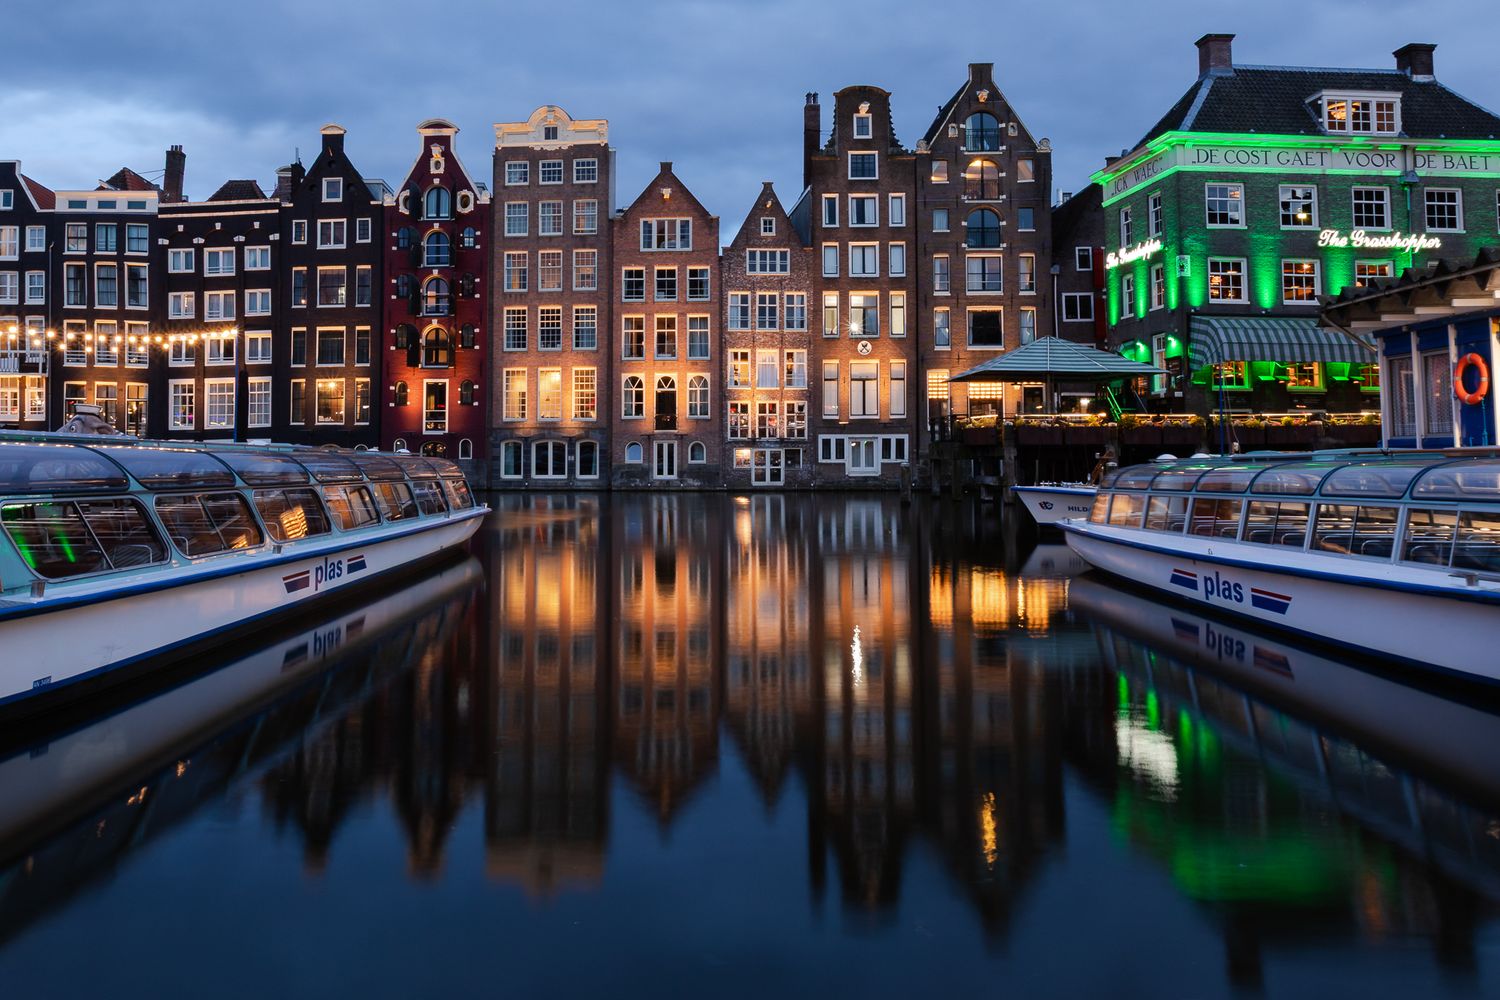
Symmetry and Patterns: We as humans love balance which means that symmetrical shots and repeating patterns are very pleasing to the eye. Patterns and symmetry can sometimes be hard to find, and you won’t find them everywhere, but when you do, take advantage of them. Don’t forget to look down, as sometimes symmetry comes in the form of reflections, and puddles or other bodies of water, make for good sources of reflections. Photographing in cities is a good place to find symmetry and patterns, but don’t think that’s the only place you will find examples.
Take the time compose your shot well. Good composition can transform a simple scene from a plain boring photo into a striking and memorable image. Also good to remember, keep your horizon level, as one thing that can truly ruin a great photo is looking at it and realizing it is not level.
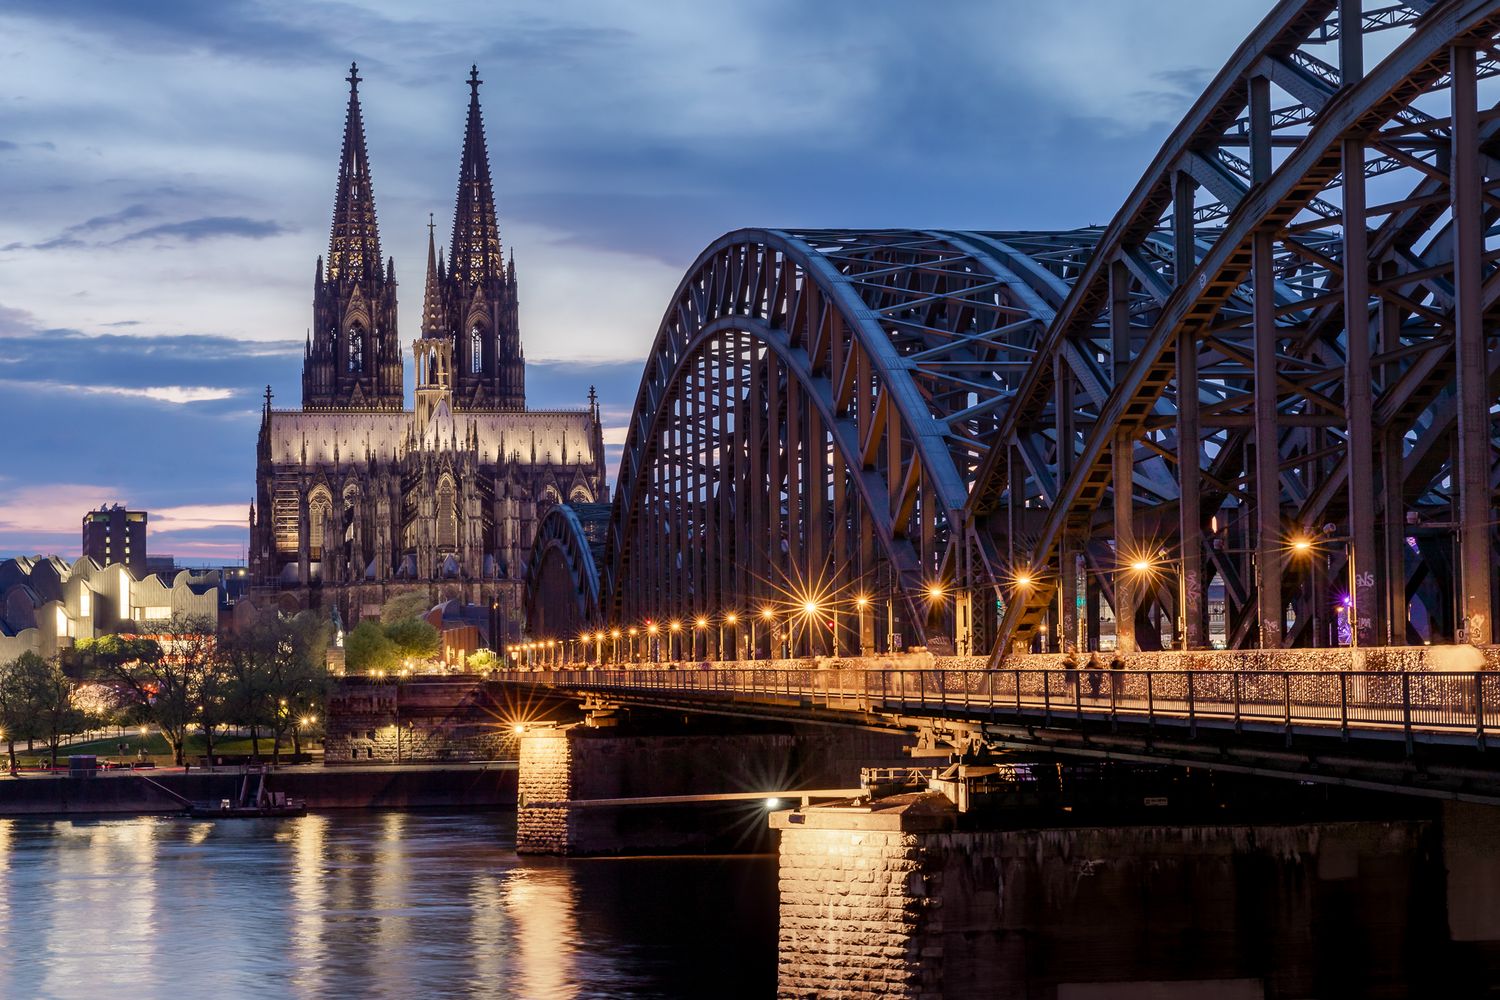
An example of leading lines. While the bridge itself is also a primary subject of the image, the lights and lines of the walkway on the bridge also act as leading lines to lead the viewer to the cathedral.

An example of framing. Framing doesn't necessarily have to completely encompass the subject of your image. Here I used the branches and leaves on the tree in the foreground to frame the Eiffel Tower so that it is not simply surrounded by boring blue sky.
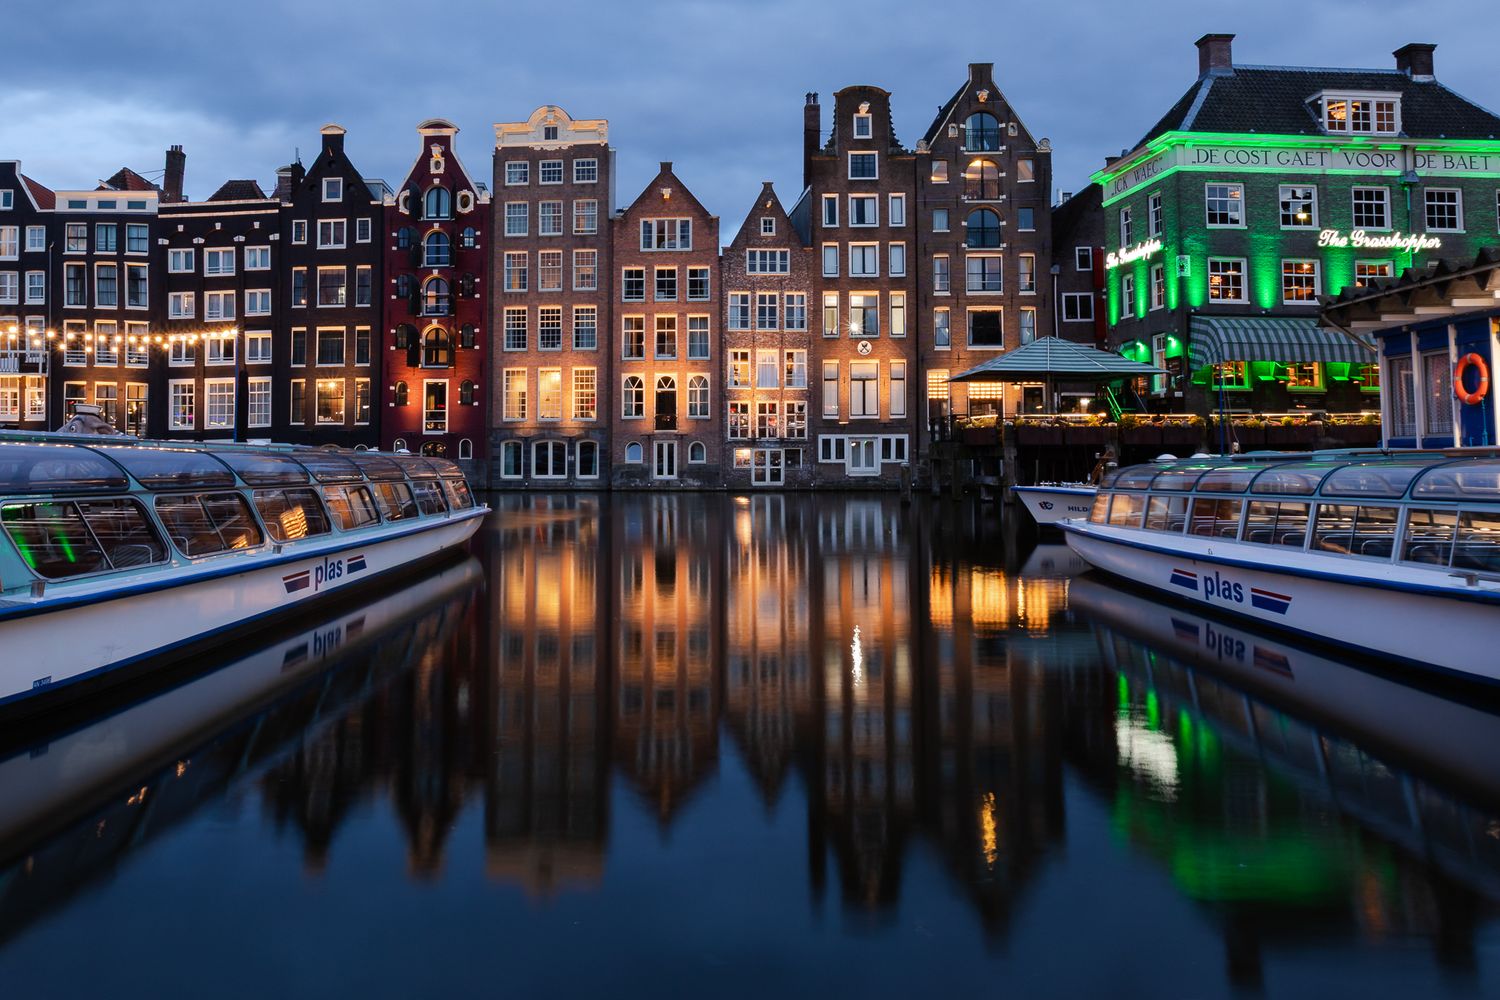
An example of symmetry and reflections. The nearly still water provided a fine base for the buildings to reflect onto. The boats to each side also add some near symmetrical aspects while also creating some leading lines guiding the viewer to the center of the image.
4. Focus and Depth of Field
Focus: One of, if not the most, essential parts of photography is making sure your subject is sharp and IN FOCUS. Autofocus systems on today’s modern cameras do a great job, but learning manual focus and choosing the correct aperture helps when you need precision. Use focus creatively to tell a story. Sometimes what’s out of focus is just as powerful as what’s sharp.
Depth of field (DOF): Depth of Field is the amount of your scene which is in focus and falls into two categories, shallow and deep.
- Shallow DOF is created by using a wide aperture, such as f1.8 (some lenses go as wide as f1.2). Shallow depth of field isolates your subject and blurs the background of the photo and is perfect for portraits. Be careful when using shallow depth of field as sometimes the depth of field can be an inch or less if you’re focus distance is not optimal. Backing up and putting more distance beyween your lens and the subject can help with increasing the depth of field when using a wide aperture. When I first started experimenting with portraits and wide apertures, I often found myself getting only part of my subject’s face in focus due to a too shallow DOF.
- Deep DOF is created using a narrow aperture such as f9 or higher. Deep depth of field keeps everything sharp and in focus. This deep depth of field is perfect for landscapes or architecture photos.
5. Shutter Speed
Shutter speed determines your ability to freeze motion in your photographs. The faster you set your shutter speed, the easier it is to freeze subjects with motion, such as a person walking/running, animals, or vehicles, etc. Typically a shutter speed of around 1/250 sec is enough to freeze a person walking. To freeze subjects that move faster such as sports athletes during a game or a jet at an airshow, you’ll want to raise your shutter speed considerably higher, to around 1/1000 sec or greater. Just remember that when you increase your shutter speed, you will need to open your aperture and/or raise your ISO.
Conversely, a slower shutter speed can introduce motion into your photograph. A perfect time to use slow shutter speeds is when photographing something such as a scene with a waterfall. Dropping the speed of your shutter will allow the water to appear to be flowing like silk into the pool below. Another good example of using a slow shutter speed is when photographing something like a speeding car on a race track. Keeping your shutter speed low while maintaining focus on your subject and a steady hand while panning with your subject will show motion in the background. A slower shutter speed will also allow you to drop your ISO and close up your aperture. Mastering the art of panning with slow shutter speeds can create some very dynamic images.
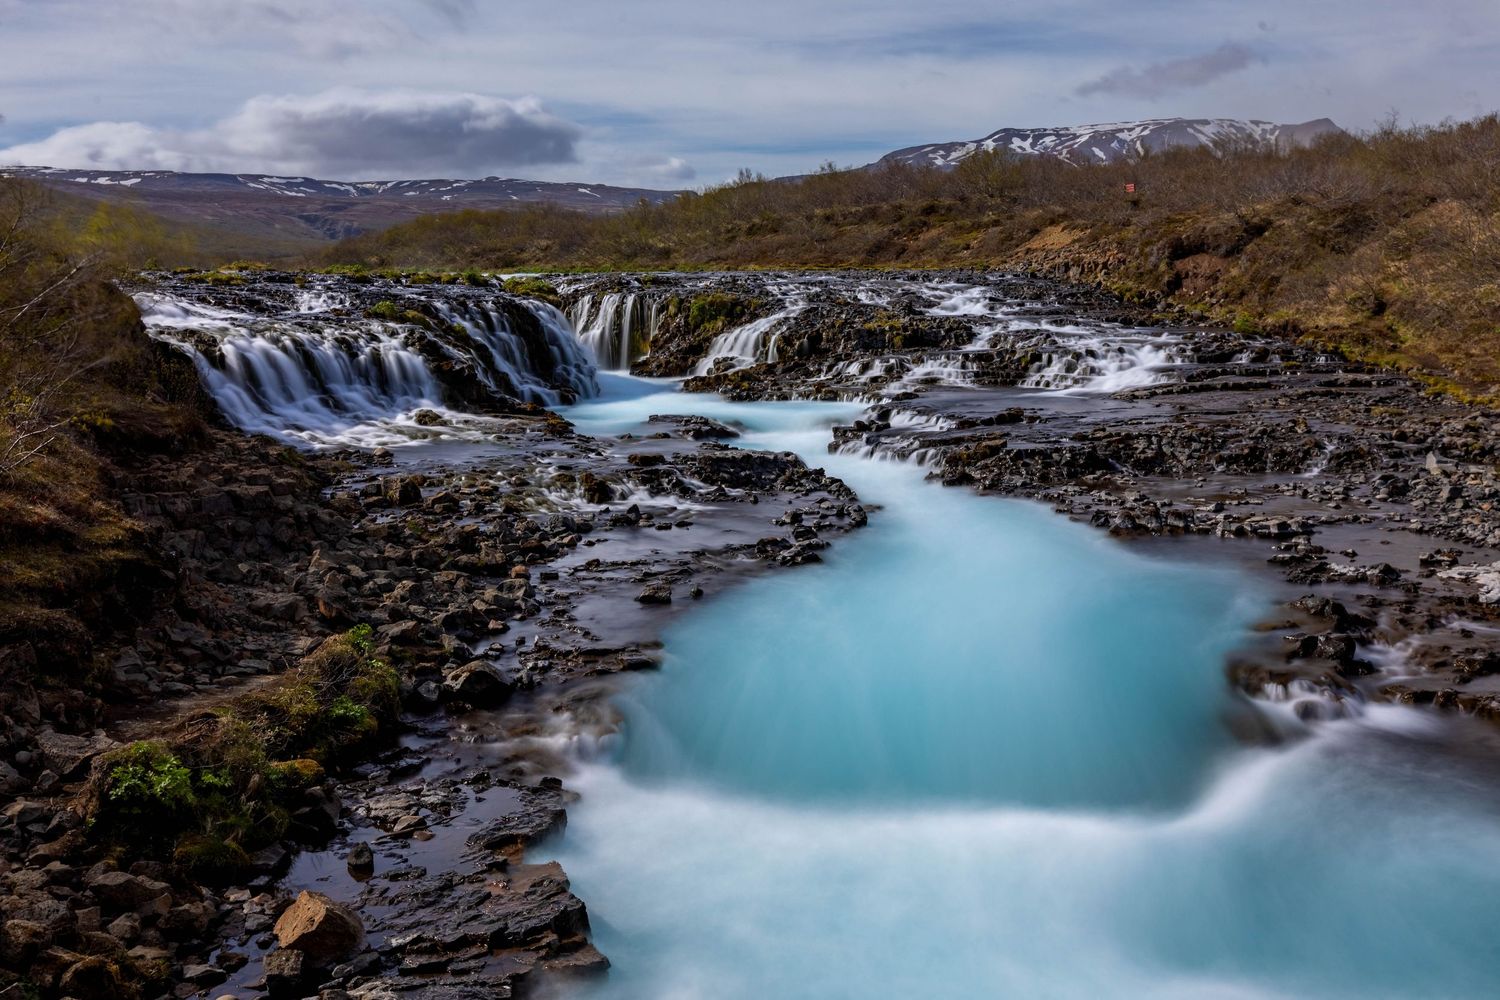
I used a shutter speed of 1/3 sec to capture this image of Bruarfoss waterfall in Iceland. Note how the water appears silky smooth.

Super slow shutter speeds aren't alwys necessary to show motion. Here I used a shutter speed of 1/125 sec to obtain suficient motion blur behind this 3-wide battle at Bristol Motor Speedway.

A faster shutter speed of 1/800 was used to freeze the pit crew during a pit stop at Bristol Motor Speedway.
6. Practice, Experiment, and Develop Your Style
Photography is a journey. Learn the rules, then break them intentionally (some rules are meant to be broken). Experiment with angles, light, and subjects. Analyze the work of photographers you admire, and most importantly, shoot often. The more you practice, the more you’ll develop your unique eye and voice as a photographer.
Final Thoughts
Mastering the basics of photography isn’t about having the fanciest or newest camera, it’s about understanding how to use light, composition, and creativity to tell a story. Once you grasp these fundamentals, every photo becomes an opportunity to see the world in a new way. Even an old camera in the right hands can create truly memorable works of art.